iPhone 16 Pro & iPhone 16 Pro Max camera guide
Apple’s newest iPhones, the iPhone 16 Pro and iPhone 16 Pro Max, combine cutting-edge hardware and software to deliver outstanding photo and video capabilities anywhere. Learn how to maximize their potential by mastering the powerful Camera app.
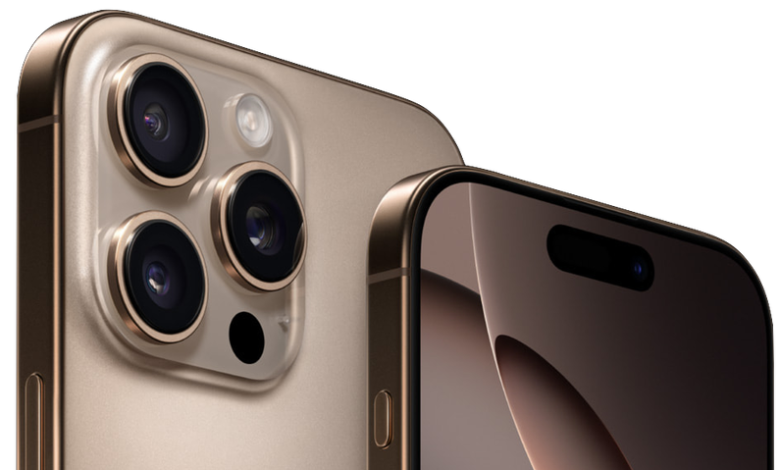
In 2024, both models share identical camera features, unlike the iPhone 15 Pro, which lacked the 5X zoom found in the Pro Max version. The iPhone 16 Pro series boasts a 48MP ultra-wide lens, a 48MP primary lens, and a 12MP 5X telephoto lens, making it a top choice for photographers. While there are many great third-party camera apps available, sticking with the built-in Camera app can yield professional-quality results. Here’s how you can master it to elevate your photography game.
Quick Tips to Open the iPhone 16 Pro Camera Instantly
Accessing your phone’s camera is straightforward, but modern features offer several efficient ways to do it.
- Camera App Icon: Tap the icon on your Home Screen or long-press it for quick access to modes like video or portrait.
- Lock Screen Shortcuts: Swipe left to open the camera or add a widget to the bottom corner or below the time.
- Dedicated Camera Button: Press the Camera button twice from the Lock Screen — once to wake the screen and once to launch the app.
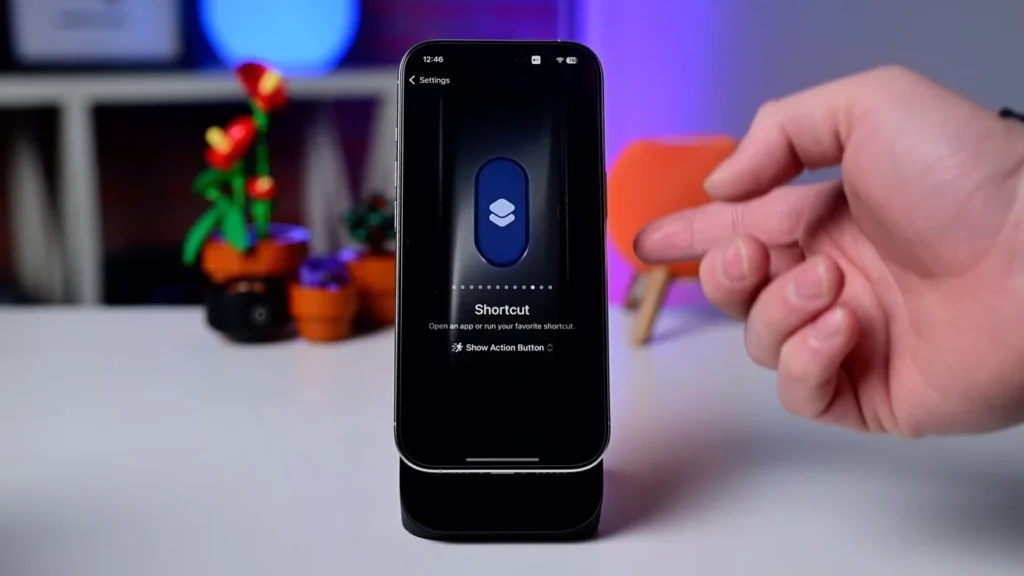
- Action Button: Configure the Action Button to open the Camera app with a single press.
- Control Center Shortcut: Add the Camera control to your updated Control Center for easy access.
Choose the method that fits your needs to capture every moment effortlessly!
How to Take Photos and Videos: Quick and Easy Tips
Taking photos or videos is simple, but modern features make it even more versatile. Here’s how to make the most of your camera:
1. Using the Shutter Button
- Tap the shutter button for a photo.
- Long-press the shutter button to activate QuickTake and start recording a video. Release to stop recording or drag your finger to the right to lock it into video mode.
- To stop recording in locked mode, tap the square button that replaces the shutter.
2. QuickTake for Burst Photos
- Drag the shutter button to the left to start a burst mode, capturing multiple photos until you release your finger.
3. Using Volume Buttons
- Press either volume button to take a photo.
- Hold down a volume button to start recording a video, similar to QuickTake.
- In Settings, you can customize the volume up button to activate burst mode, which is a highly recommended option.
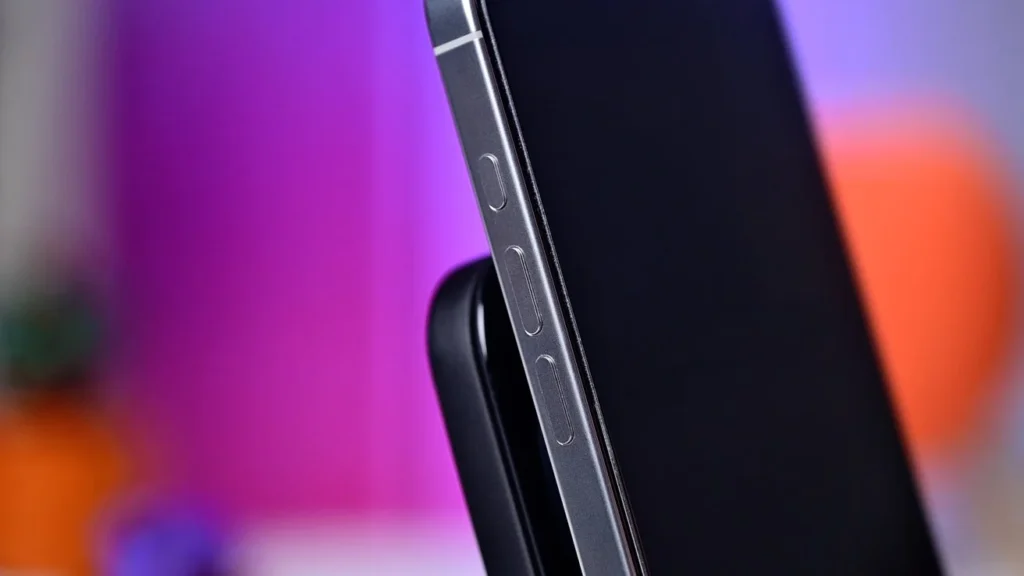
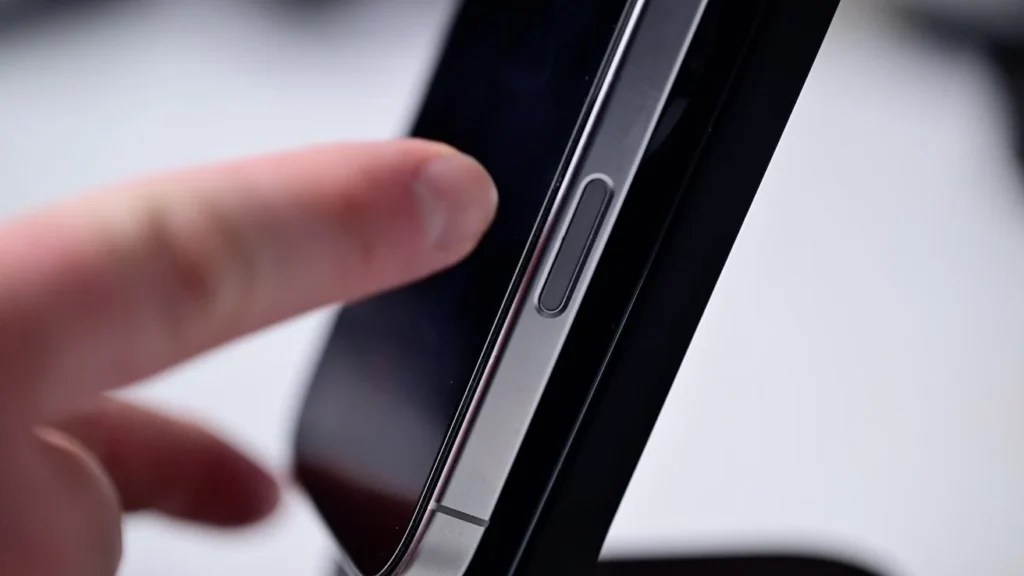
4. Dedicated Camera Control
Exclusive to the iPhone 16 series, the new dedicated Camera Control acts as a hardware shutter button, offering additional functionality for capturing photos and videos effortlessly.
With these options, you can easily take photos or videos in a way that suits your style and preferences!
Mastering the Camera Control on iPhone 16 Series
The Camera Control on the iPhone 16 series is a versatile tool for capturing photos and videos with ease. Here’s how it works:
1. Quick Actions
- A quick press takes a photo.
- Press and hold to start recording a video.
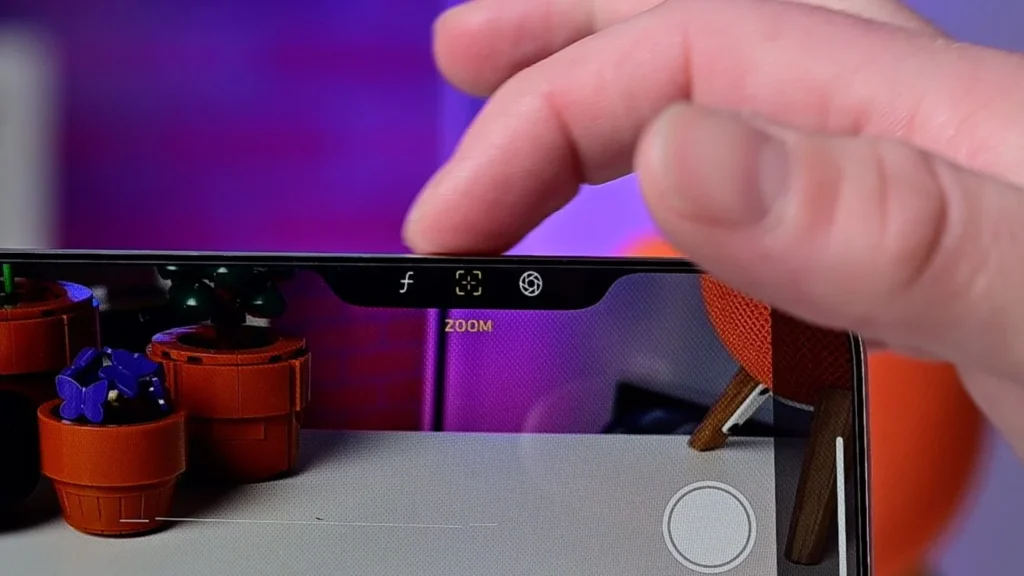
2. Unique Features
This button is both physical and virtual. It has a mechanical mechanism combined with touch and pressure sensitivity:
- A light press brings up a tool tray with advanced camera options, such as adjusting depth for portrait shots or tweaking exposure.
3. Learn More
For an in-depth understanding of the Camera Control, including customization tips and settings, check out our dedicated guide to unlock its full potential!
How to Navigate and Use the Camera App
Apple’s stock Camera app is intuitive and packed with features. Here’s a breakdown of its key components and controls:
1. Camera Modes and Interface
- Swipe Left or Right: Switch between modes, such as Photo (default), Video, Portrait, and more.
- Bottom Bar: Includes the shutter button, gallery preview, and camera toggle.
- Zoom Levels and Mode Options: Displayed above the shutter for quick adjustments.
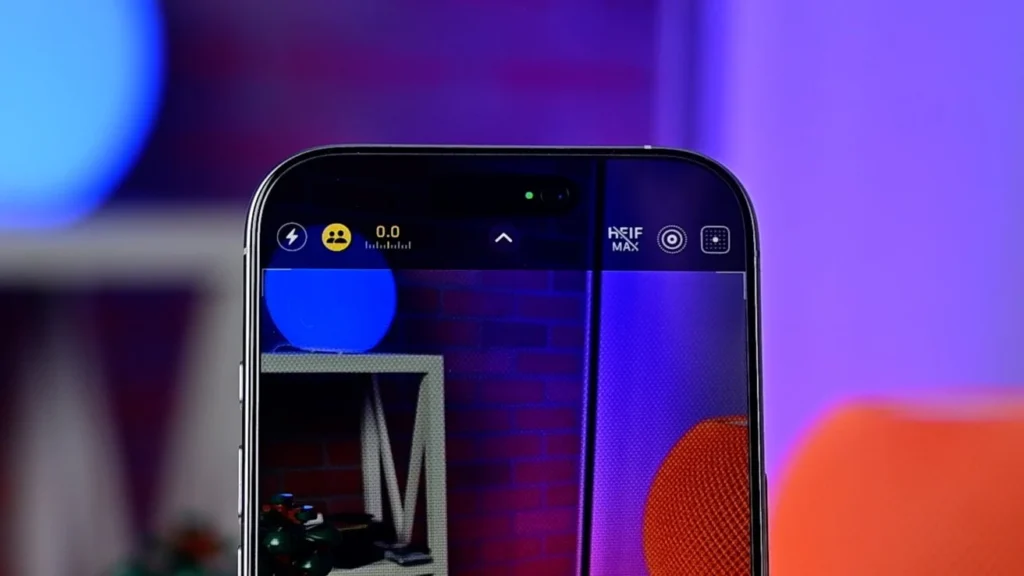
2. Top Bar Controls
These controls vary based on mode, lighting, and personal settings. Common options include:
- Flash: Toggle on/off or long-press to set it to auto.
- Shared Library: Choose between saving photos in your personal or shared library.
- Exposure Compensation: Adjust brightness levels.
- Live Photo: Long-press to select auto, on, or off.
- Photographic Styles: Access and customize your preferred look.
In the center of the top bar, the upward caret icon reveals a hidden tool tray for more options.
3. Tool Tray Options
The tool tray includes:
- Flash settings (auto, on, off)
- Night mode (on, off, duration)
- Live Photo toggle
- Photographic Styles
- Aspect ratio (4:3, Square, 16:9)
- Exposure compensation
- Timer (off, 3s, 5s, 10s)
- Shared Library toggle
Night Mode:
- The icon appears in the top bar if the lighting is dim. Yellow means it’s on, while grey means it’s off.
- Adjust the duration in the tool tray (1–30 seconds). Longer durations are available when the phone is stable, like on a tripod.
4. Macro Mode
Macro mode activates automatically when your subject is close to the camera.
- Enable manual control in Camera settings to toggle it on or off.
- A flower icon will appear when macro mode is active. Yellow indicates it’s on, while grey indicates it’s off.
How to Adjust Zoom Levels for Perfect Photos and Videos
Properly adjusting zoom levels is key to capturing the perfect shot. Here’s how to make the most of your iPhone’s zoom features:
1. Pinch to Zoom
- Use a two-finger pinch gesture on the display to zoom in or out.
- While quick, this method can introduce unwanted movement, making it less ideal for videos.
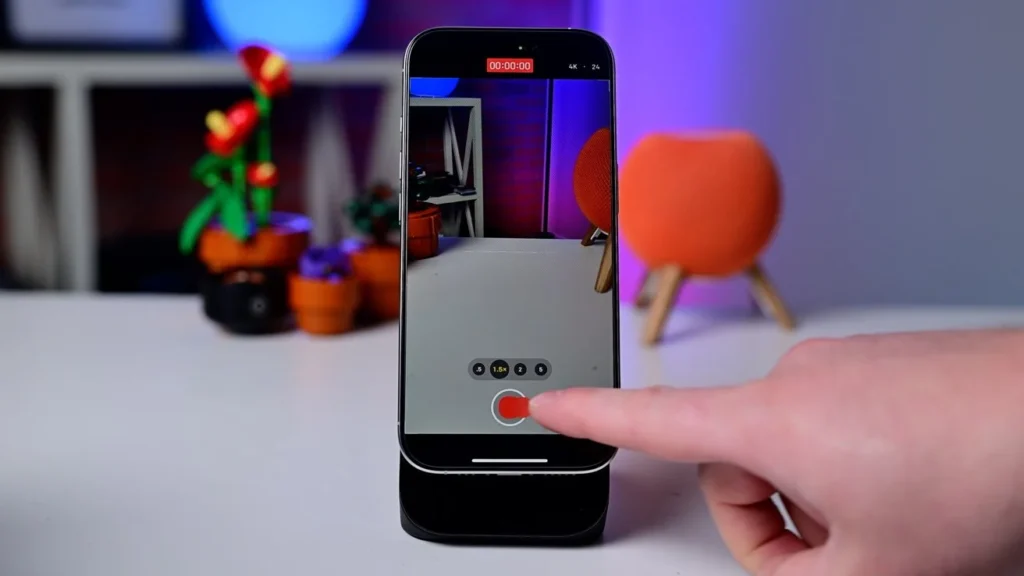
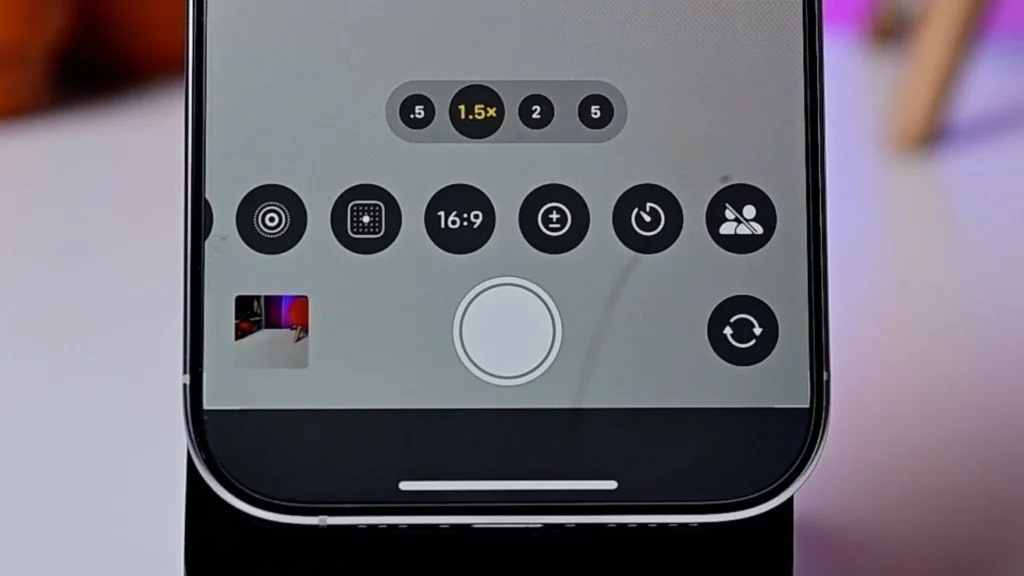
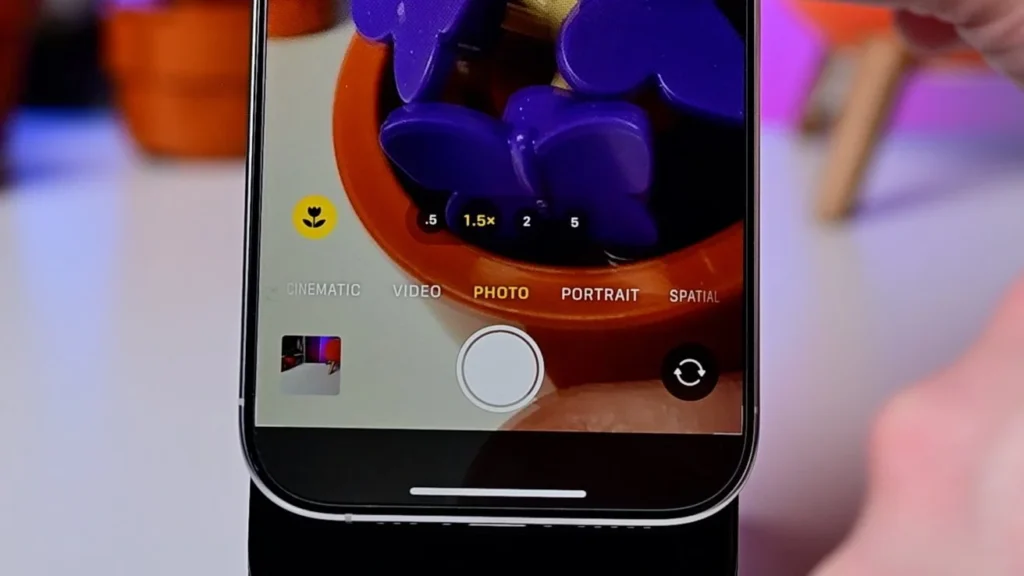
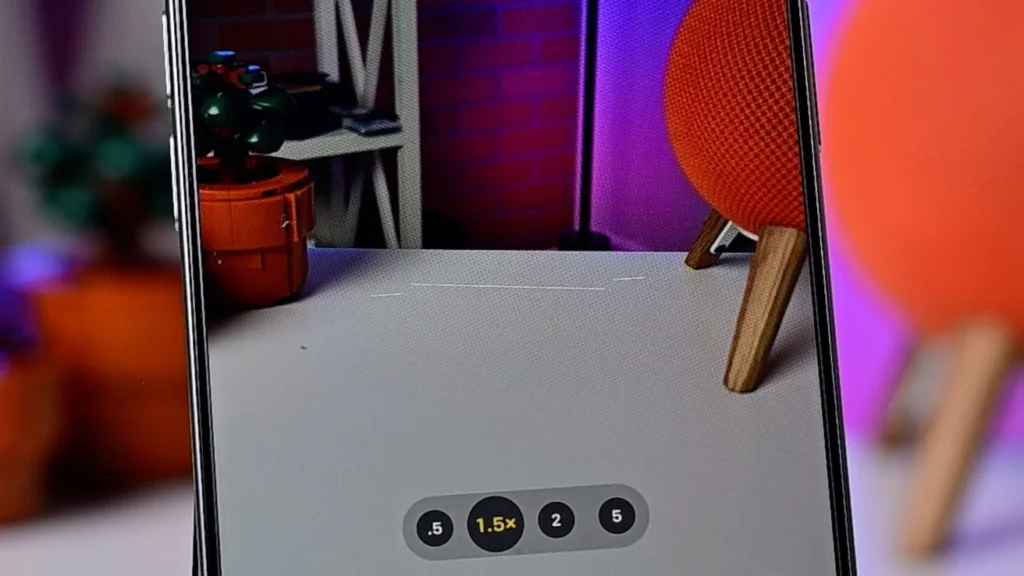
2. Using Capture Control
- For smoother and more precise zoom adjustments, slide your finger over the on-screen zoom options.
- Available zoom presets:
- 0.5X: Ultra-wide
- 1X: Wide
- 2X: Optical-quality zoom
- 5X: Telephoto
- Tapping the 1X option unlocks additional choices:
- 1.2X (28mm)
- 1.5X (35mm)
- These can be set as the default in the Settings app.
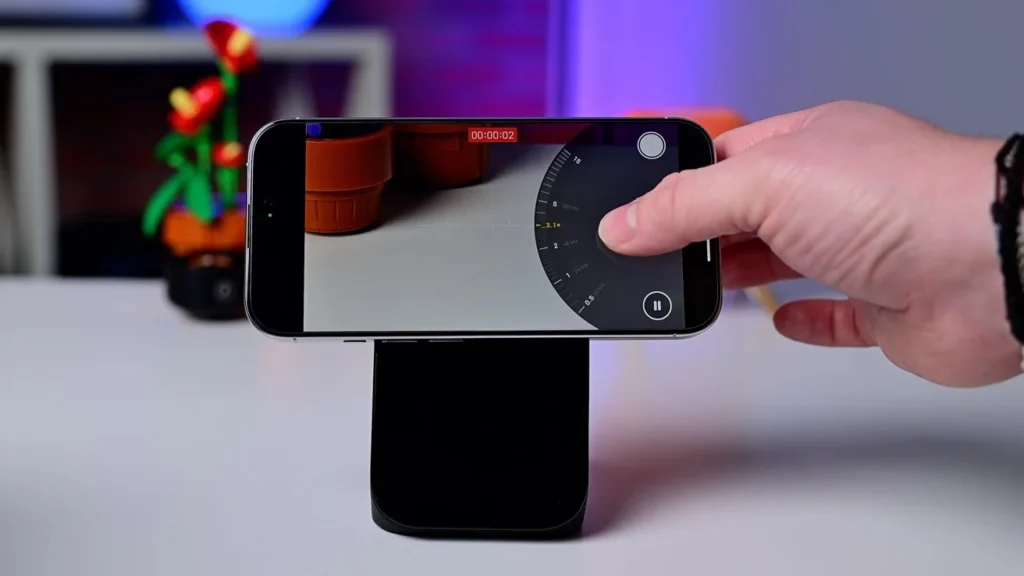
3. Zoom Adjustment Wheel
- Slide your finger on any zoom option to reveal the zoom adjustment wheel.
- The wheel allows for granular zoom control as you slide left or right.
- Release to let the wheel hide automatically or swipe it away when finished.
This method is our preferred way to achieve precise compositions without introducing movement, ensuring your photos and videos look their best!
Exploring Photo Modes on iPhone 16 Pro and iPhone 16 Pro Max
The iPhone 16 Pro and Pro Max offer advanced photo modes beyond the standard one, including Portrait, Spatial, and Pano. Here’s how to use them effectively:
1. Pano Mode
- What It Does: Captures stunning panoramic images, perfect for landscapes and wide scenes.
- How to Use It: Tap the shutter button and move your phone steadily to create a seamless image.
- Pro Tip: Keep your arm steady and swivel from your hips for better stability. You can also change the orientation by tapping the arrow to switch from left-to-right to right-to-left.
2. Spatial Mode
- What It Does: Expands on spatial video capture introduced in iPhone 15 Pro models by allowing both photos and videos to include depth and motion data.
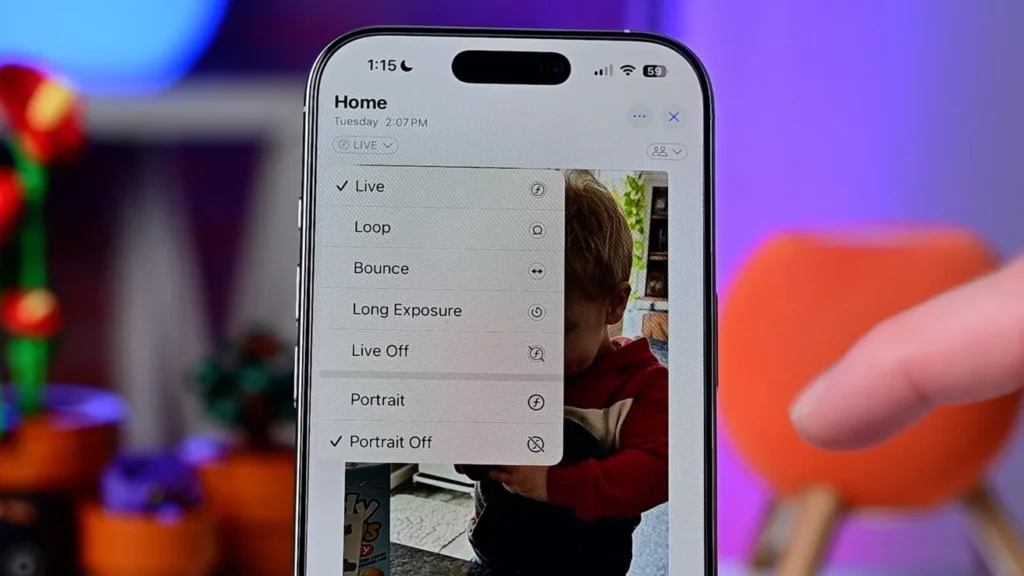
3. Portrait Mode
- What It Does: Adds an adjustable background bokeh effect for photos of people, pets, and objects.
- Enhanced Features:
- Combines Live Photos and Portrait modes. You no longer have to choose between them.
- When a subject is detected, the iPhone captures depth data. Afterward, you can decide whether to save it as a Live Photo or Portrait photo.
- Look for the stylized “f” icon in the lower-left corner to confirm depth data is being captured.
With these advanced modes, the iPhone 16 Pro and Pro Max empower you to take creative, professional-quality shots effortlessly!
Understanding Video Modes on iPhone 16
The iPhone 16 offers a variety of video modes, each with unique features to enhance your filming experience:
1. Standard Video
- Capture regular video at standard frame rates, ideal for everyday recording.
2. Time-Lapse
- Records footage over an extended period and speeds it up, creating a dramatic effect that highlights the passage of time.
3. Slo-Mo
- Records video at high frame rates (up to 240FPS at 1080p or 120FPS at 4K) for a slow-motion effect, perfect for capturing action in detail.
4. Cinematic Mode
- Similar to Portrait mode but for video. It focuses on your subject and blurs the background for a professional-looking depth of field.
- You can adjust focus after filming, bringing your subject or background into sharp focus as needed.
5. Action Mode
- Accessed via a toggle (person running icon) in the top-right corner.
- Drastically stabilizes footage during movement or shakes, perfect for action shots.
- Limitations:
- Records only in 2.8K resolution.
- Requires adequate lighting (lower-light settings can be enabled in Settings).
You can also adjust the frame rate and resolution while filming by tapping the options in the top-right corner. With these modes, you’ll be able to capture any scene in the perfect format!
Extra Settings for Better Photos and Videos
To get the most out of your iPhone’s camera, there are a few key settings we recommend adjusting. Here’s how to fine-tune your camera settings:
1. Video Settings
- Resolution and Frame Rate: Set to record at 4K24 for cinematic quality, though 4K30 is also a great choice for most uses.
- HDR: Turn off HDR if you plan to edit your footage with clips from other cameras to avoid compatibility issues.
2. Photo Settings
- Camera Format: Set to High Efficiency and 24MP for excellent quality without taking up too much space.
- RAW Photos: Enable RAW for professional-quality photos, but be aware they take up significantly more storage.
- HEIF Max: For a middle ground, try HEIF Max, which captures up to 48MP while consuming less storage than ProRAW.
3. Additional Features
- Grid and Level: Turn on the grid and level for easier photo composition and to help keep your shots straight.
With these settings, you can capture high-quality photos and videos, all while optimizing your storage and workflow!


